When I first switched to digital wallets, I expected complexity. Instead, I was surprised by how quickly I could make contactless payments, store multiple cards, and even track expenses. This step by step digital wallet setup guide will walk you through native apps like Apple Wallet and Google Wallet, as well as fintech and crypto options, with practical insights from my own experience.
Choosing the Right Digital Wallet
Not all wallets are created equal. I learned that selecting one depends on whether you prioritize everyday payments, peer-to-peer transfers, or cryptocurrency management.
Native Wallets: Apple Wallet & Google Wallet
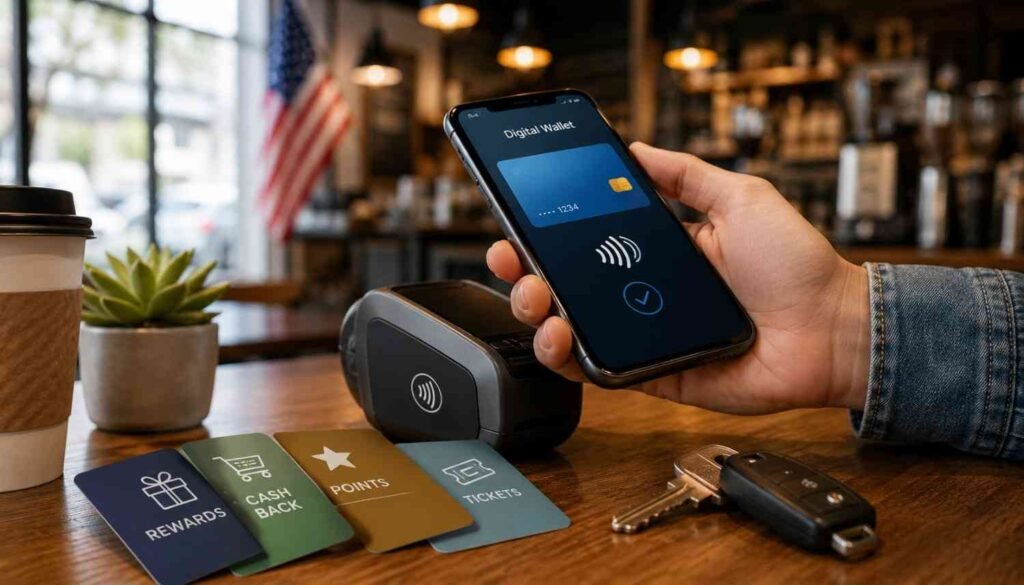
Both options allow seamless tap-to-pay experiences at stores, online, and in apps. On iOS, Apple Wallet comes pre-installed, while Android users may need to download Google Wallet from the Play Store. These wallets integrate deeply with the device’s security, which adds a layer of convenience I didn’t anticipate until I enabled FaceID and NFC.
Fintech & Peer-to-Peer Wallets
Apps like PayPal focus on P2P transactions and online shopping. I found that these wallets are particularly useful for splitting bills or sending money internationally. Unlike native wallets, they require verification, which involves uploading a government ID and linking a bank account.
Crypto Wallets
For those venturing into cryptocurrency, wallets like Coinbase Wallet demand careful handling. I always write down my Secret Recovery Phrase offline—never screenshot or store it digitally. Losing access to this phrase can mean permanent loss of funds, which I learned after reading multiple user reports on security forums.
Setting Up a Native Wallet
Step 1: Open the Wallet App
- iOS: Tap the Apple Wallet icon.
- Android: Open Google Wallet or download it from the Play Store.
I noticed that simply launching the app without updating the device software often causes setup errors.
Step 2: Add Your Card
Tap the Add button, select Debit or Credit Card, then either scan your card or input the details manually. Enter the CVV code from the back of the card. My first attempt failed because I skipped the verification step, which taught me that every detail matters.
Step 3: Bank Verification
The bank sends a One-Time Password (OTP) via text or email. Entering this code confirms your identity and secures your account. Skipping this can result in temporary holds on transactions.
Step 4: Configure Device Security
I always ensure my phone uses a PIN or password and enable biometric authentication. NFC must be turned on for tap-to-pay functionality. This step isn’t optional—without it, the wallet cannot process in-store payments.
Alternative Wallet Setups
Fintech/P2P Wallets
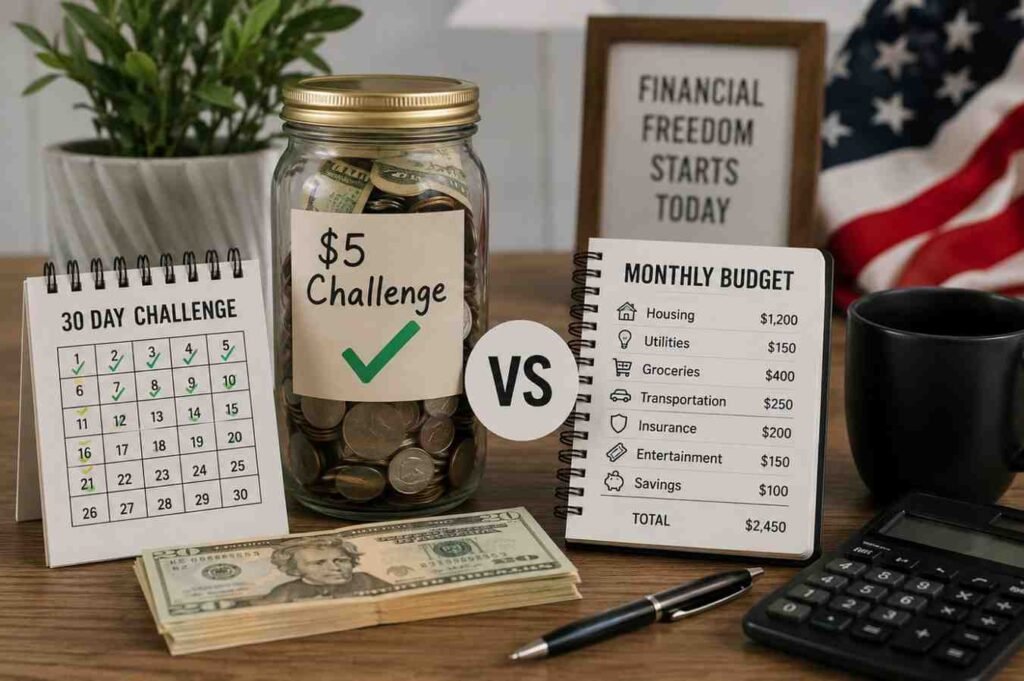
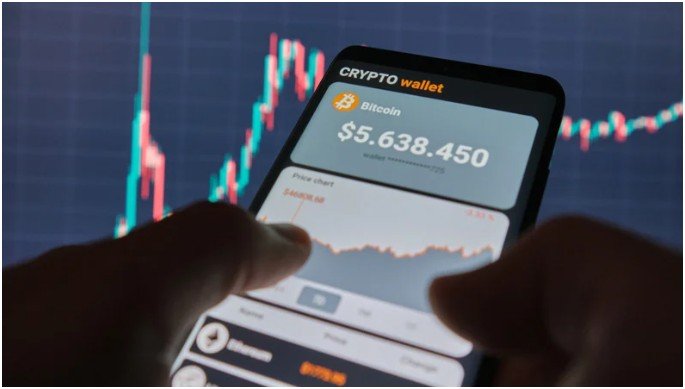
After downloading PayPal or Paytm, I registered with my email and completed KYC. Linking a bank account allows instant top-ups, and the wallet keeps a detailed transaction history. This feature pairs well with my digital wallet budgeting and expense tracking guide, letting me monitor spending efficiently.
Crypto Wallets
Creating a crypto wallet demands strict security. I generated a new wallet, then wrote down the recovery phrase offline. This step cannot be skipped. Any cloud or screenshot storage increases vulnerability. After setup, I funded the wallet using small transactions to verify functionality.
Managing Your Wallet Safely
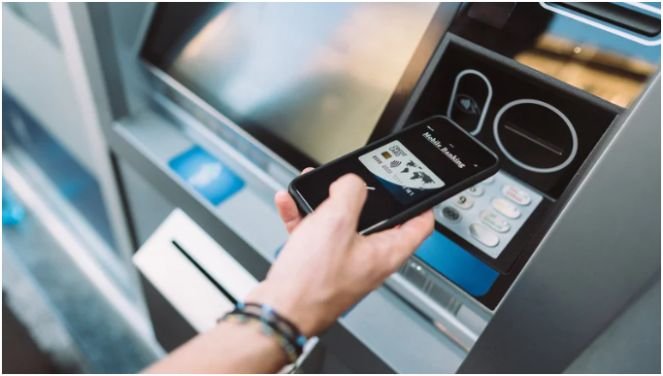
Security became my top priority once I added multiple cards and cryptocurrency. I found that regular monitoring, multi-factor authentication, and app updates drastically reduce the risk of fraud. I also pair my wallet usage with a small RFID-blocking card for emergencies, which adds a physical layer of protection against digital pickpocketing.
Unique Tip From Experience
When setting up multiple wallets, I organize each by purpose: one for daily payments, another for online purchases, and a third for cryptocurrency. This separation reduced mistakes, like accidentally sending money from a high-fee account, and simplified reconciliation at the end of the month.
Troubleshooting Common Issues
- Failed Verification: Ensure your bank supports wallet integration and your contact info is current.
- Card Not Accepted: Some business or regional cards may require manual addition.
- NFC Errors: Toggle NFC off and on, and restart the device if tap-to-pay fails.
- App Crashes: Always update to the latest app and OS version.
FAQs About Digital Wallet Setup
Q1: Can I add multiple cards to a single wallet?
Yes. Both native and fintech wallets support multiple cards. I keep personal, business, and prepaid cards in one wallet for convenience.
Q2: How long does setup take?
For native wallets, under five minutes. Fintech wallets may take longer due to KYC verification.
Q3: Are digital wallets safe?
When combined with device security and two-factor authentication, they are generally safer than carrying multiple physical cards.
Q4: Can I recover a crypto wallet if I lose my phone?
Only if you have your Secret Recovery Phrase stored securely offline.
Q5: How do I track spending?
Pairing wallets with budgeting apps or following my digital wallet expense tracking makes tracking effortless.
Final Thoughts: Tap, Pay, and Track with Confidence
Setting up a digital wallet is surprisingly fast once you follow the correct steps. From native wallets to P2P and crypto options, organization and security are key. My advice: dedicate one session to complete the setup and testing before relying on the wallet for major transactions.
Once you master this, daily payments, online purchases, and expense tracking become seamless. Start small, fund responsibly, and enjoy the convenience of modern money management.